July 11, 2011

Next.... On To The Wheelhouse...

We have tonight off from working on the boat as it is too hot to work under the cover.  We really need a little overcast or light rain to cool things back down again. Those that know me well, know that I would rarely, if ever ask for rain in Juneau, IN THE SUMMER!  Nor do I ever say that I'm too hot, but that is definitely the case right now.  Anyway, back to the boat.... I was there long enough tonight to get a few pictures of the carnage, I mean progress in the wheelhouse.

~Misty~

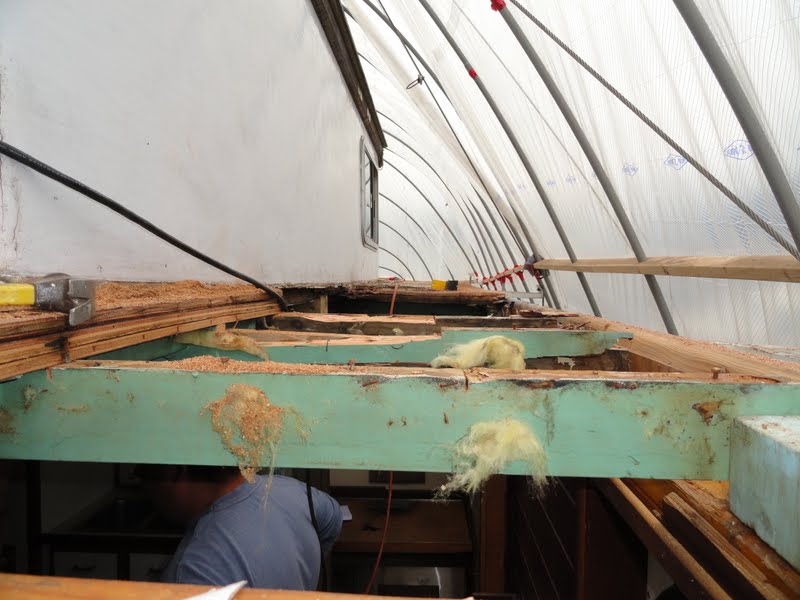
This is looking up into the wheelhouse from the galley. Normally there would be ceiling below in the galley and a chart table above in the wheelhouse
Looking down into the galley from the same hole

Captain's bunk


July 10, 2011

No More Roof

We spent all day Saturday tearing down the roof.  The more we took off, the more we had to take off due to finding more and more rot.

Port side

Starboard side
Bow
Another bow view, all the black wood is wet and rotten
Pile of wet, rotted wood and insulation from the roof.  This filled my truck to the top of the canopy.


Jacking Up The Top House

Due to the top house settling to the stern it had to be jacked back up to redo the roof and roof joists. This will allow us to put the joists in the ceiling which will put the crown back in the roof. 

Paul and Dave jacking up the house
House jacked & blocked up
This is what happens when you jack up the house


Plan "B"

Initially we thought that we would use 12' x 2" flat bar attached to 12' pieces of 2"x3" as roof joists however, when the flat bar was attached to the 2"x3" it flexed substantially and would prove to be usless in the application we wanted it for.

12' flat bar attached to the 12' 2"x3"
Instead of using the flat bar & 2"x3" we ended up making laminate roof joists out of 4 pieces of 1"x4" fir with a 1.5" crown in it.  The roof joists will be topped with 1 1/8" plywood as the roof, which will be covered by a layer of epoxy, then a layer of fiberglass mesh, then a layer of epoxy.

1"x4" fir for the joists

1 1/8" plywood for the roof
Joist

Here you can see the bow in the joist for the roof crown

July 9, 2011

Welding!

On Friday our welder got back to the task of welding steel to the stern and cutting out steel on the port side. He still has to replace the steel he cut out of the port side and fix some holes around the exhaust pipes at the stern.  I think he has another couple of days and he'll be done. 

~Misty~
 
Steel welded on the stern
 
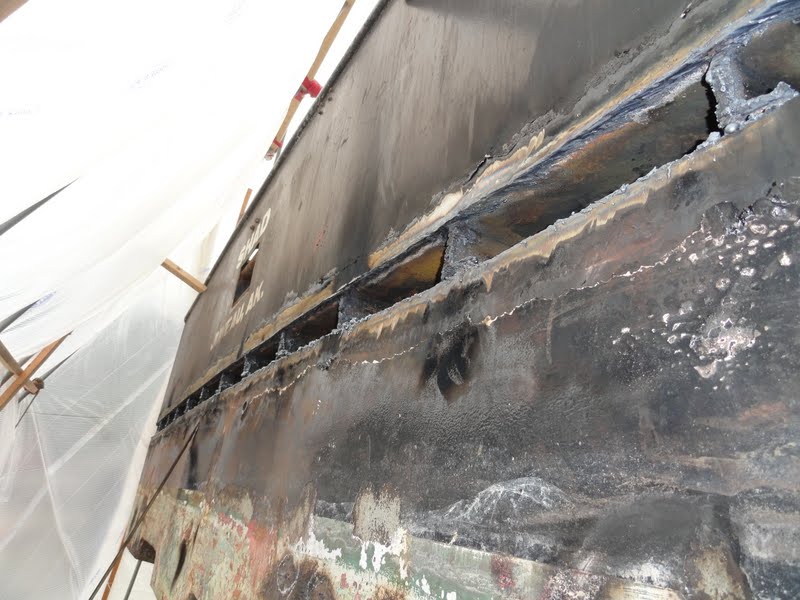
Steel cut out of the port side
 

How Do You Like Your New Skylight?

Dave and I headed down to the boat on Thursday after work to check out the progress.  Paul and Sean had been busy in the galley area again and had removed the table/desk.  It sure makes the galley area big; too bad we need a table there!


I was so busy checking out the galley that I didn't notice the rest of the work until Dave asked me how I liked my new skylight....  SKYLIGHT?!!  I'm pretty sure that I didn't order a skylight with this remodel! 

Skylight... not funny Dave! 
View from the starboard wheelhouse window looking towards the stern

Here you can see where the fiberglass mesh with epoxy was removed from the roof

View out the windshield towards the bow
The rot in the ceiling is so bad that the whole roof all the way around the house is being removed.  While the ceiling/roof was being jacked up, water was sqeezing out of the soaking wet plywood.  Needless to say this is just a little more than what we thought we'd be doing.  Thankfully Paul and Sean are on the job, so I know that it will be done right!

~Misty~

New Look

So I've updated the Blog with a new look, hopefully this color font will be easier to read.  Let me know what you think about the new look.


~Misty~

July 8, 2011

Changes....

It has been brought to my attention over recent months that those of you receiving email notification when I update the blog are having a hard time reading the updates due to the font color.  The email notification pulls the color from the blog post and sticks it on a white background.  I'll be working on changing the design of the blog in upcoming days in the hopes that you'll be able to read the updates more easily.  In the meantime, when you receive an update just scroll to the bottom and click on the link to the blog.  This will take you there where the font is on a black background and much easier to read.

~Misty~

July 2, 2011

Sanding, Painting, Cutting, Welding & Grinding

We've been spending the last week sanding & painting the 12' flat bar that will be going into the ceiling; removing the steel rub rail from around the whole boat; cutting out the rusted spots where the rub rail was; a little welding and a lot of grinding. PHEW!! I've decided that if I ever see an angle grinder again it will be way too soon!! I can barely lift my arms above my head!! Thankfully our friends Jim & Brenda & Ty have been there helping us along the way! We'd still be there if it wasn't for them!!
The welder is out of town for the next several days, so we'll continue prepping the boat for his return.  Once the new rub rail is welded on we'll be able to start the sandblasting and painting.  The carpenters will begin the work on the ceiling on Tuesday and should be done before the welder starts back up again on Thursday.  While I'm not counting on it, there is a slight possibility that we could be back in the water in time for my 40th birthday bash out at Taku Harbor in a couple of weeks.


~Misty~

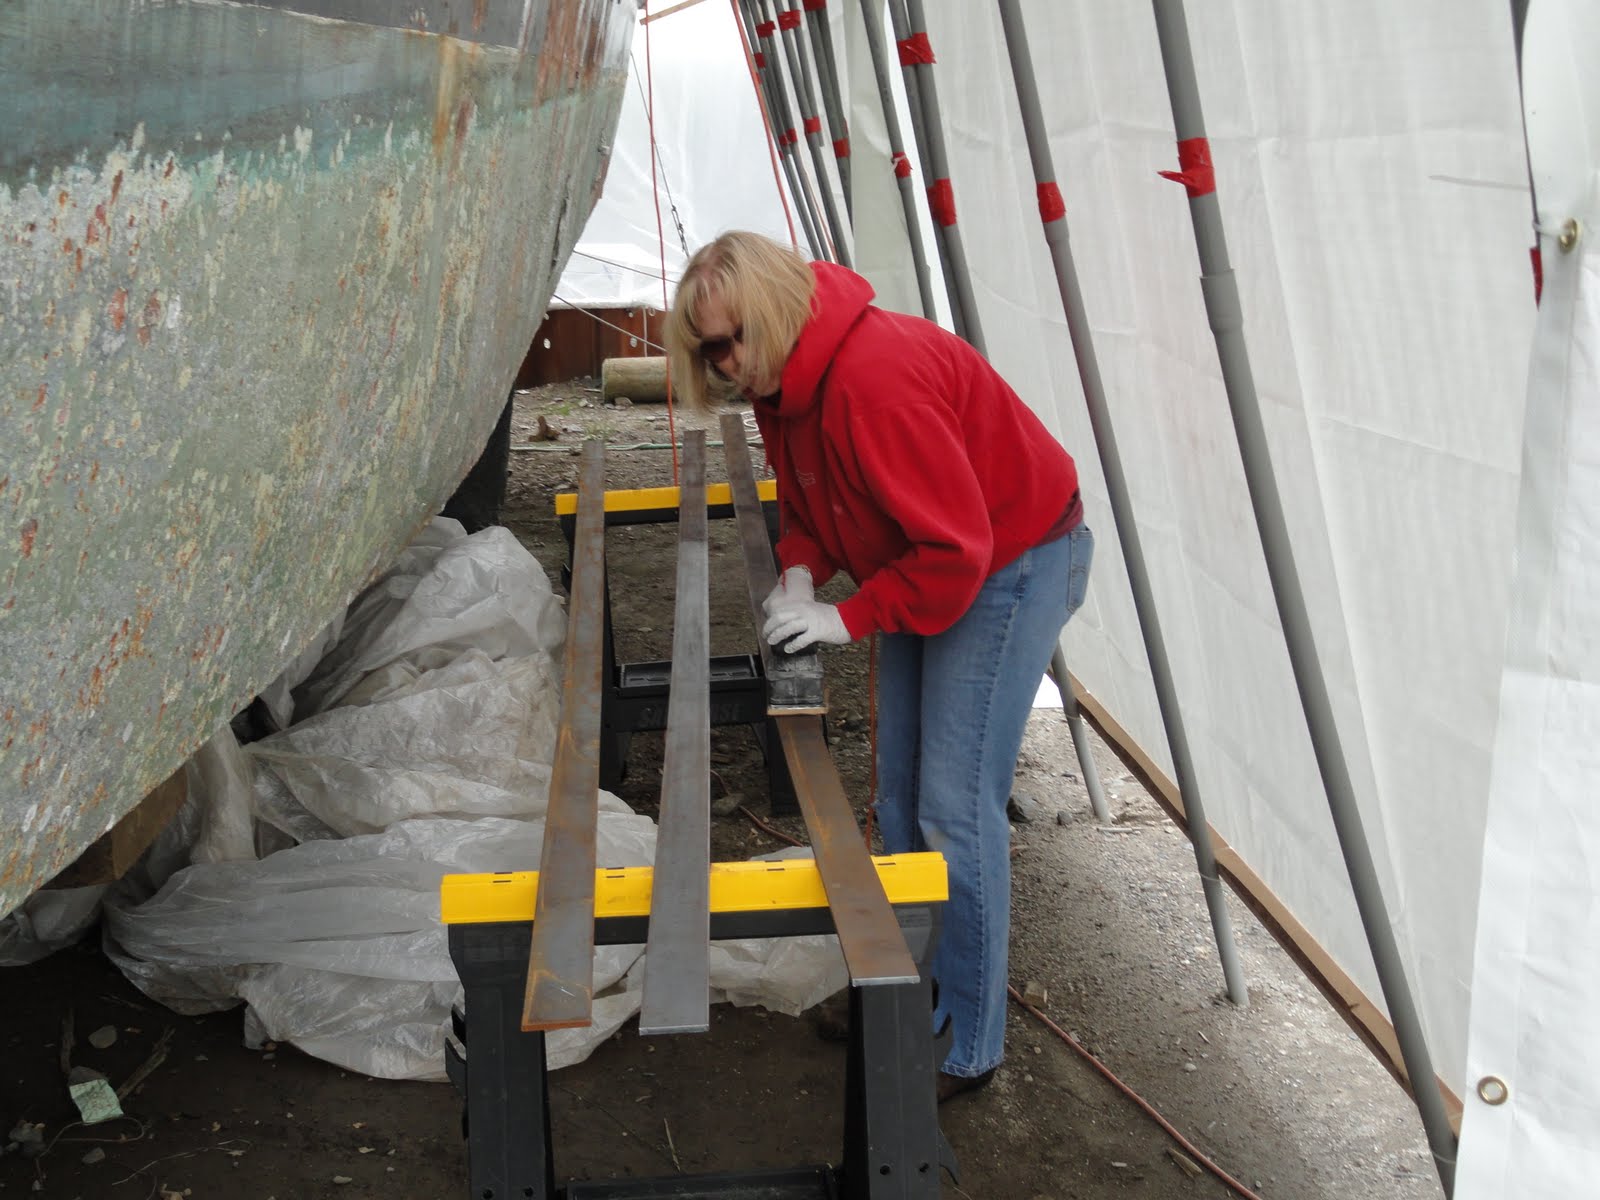
Misty sanding the 12' flat bar that will go in the ceiling to reinforce it


Dave putting a barrier coat of paint on the flat bar

After 3 coats of paint

This is what it looked like after the rub rail was removed.  We had to grind down the top and lower weld to prep the area for the welder to put on the new rub rail. We had approximately 144' of grinding to do.

Dave grinding
Brenda grinding

Jim & Brenda grinding

Before grinding

After grinding
I came back from running errands to find a whole strip of steel across the stern had been removed.  The steel under the rub rail was not in the best of shape and the welder suggested we replace it.

Another view of the stern
Randy welding
4" half round steel pipe. This is the new rub rail that will be welded on next week, I hope!

June 23, 2011

Pictures down below

Here are some pictures Dave took inside the compartments (bilge area) where the water tank and fuel tanks are located.  There is a good amount of surface rust that Dave and Ty have been working on.  Dave was able to measure the water tank so we can calculate how many gallons of water it really holds.  We were happy to discover that it is 16 gallons larger than we thought, at 116 gallons.
I'll label the pictures as best I can; I wasn't down below when Dave took the pictures, so I'm not sure what I'm looking at in some of them.

I think this is the top of one of the fuel tanks.


The pipe should be going through the through hull fitting. 

The shower has been draining down here for who knows how long.

The Ceiling and cabinets have been pulled down in order to find the leak from the roof.  Needless to say I was a little surprised when I walked in on this...

Before

After
Rot in the ceiling

June 22, 2011

The Honeymoon is over!

For me the honeymoon is over.  I haven't posted in a while as I'm trying to come to terms with the enormousness (if that's a word) of this project.  Like any other "remodel project" the more you do, the more you find you need to do! 

So far our punch list looks like this....

remove and replace the rub rail.  This entails cutting off the rail that is currently on the boat and welding new rub rail to the hull.  The new rail consist of 4" half round steel pipe and of course it had to be special ordered and barged up to Juneau.

Sandblast and paint every bit of steel on the boat from top to bottom.

Remove the shower surround and shower pan, as it has been leaking into the bottom of the boat for who knows how long.  The drain and piping to the through hull fitting will be replaced as well.

It appears as though the starboard fuel tank may have a leak; we've drained it and hope to be able to figure that out quickly.

In the galley the ceiling and insulation has already been removed and the cabinets have been removed from the walls. The joists will need to be sistered and some of the wood will be replaced as there is rot from the roof leaking.  The roof has also lost is crown and will be jacked up to put the crown back in.  The roof will be re done as well.

Dave, thankfully, is ever the optimist and keeps reminding me that all of this is doable, and we're not giving up on making it out to Taku Harbor for my Tiki/Luau/Pirate Birthday Party next month.

~Misty~

June 15, 2011

Fully Covered

The guys got the cover finished just in time for all of the rain.  Unfortunately there is a large hole in the top where the mast pokes through and the deck is a little damp.  This will have to be fixed before they start the work on the roof.